

How To Upload File In Splunk
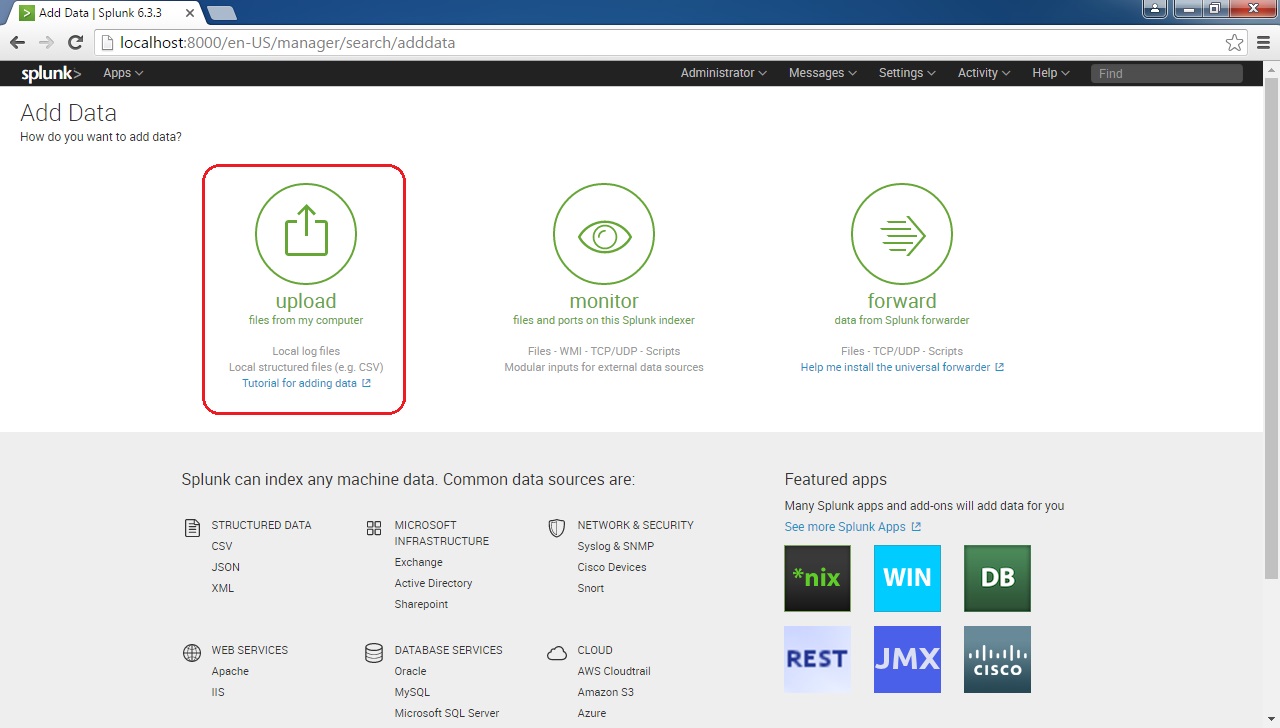
There are three means to add information to Splunk:
- Upload – you can upload a file or archive of files into Splunk Enterprise for indexing. Note that Splunk consumes the uploaded file(due south) simply once and it does not monitor it continuously.
- Monitor – you lot tin use this option to monitor files, directories, network streams, scripts, and other blazon of machine data that Splunk can alphabetize. This is the option you would near likely use for your production environment.
- Forward – you can use this option to receive information from forwarders.
The easiest manner to add data to Splunk is to use the first option (Upload). Here is how we would upload a file to Splunk:
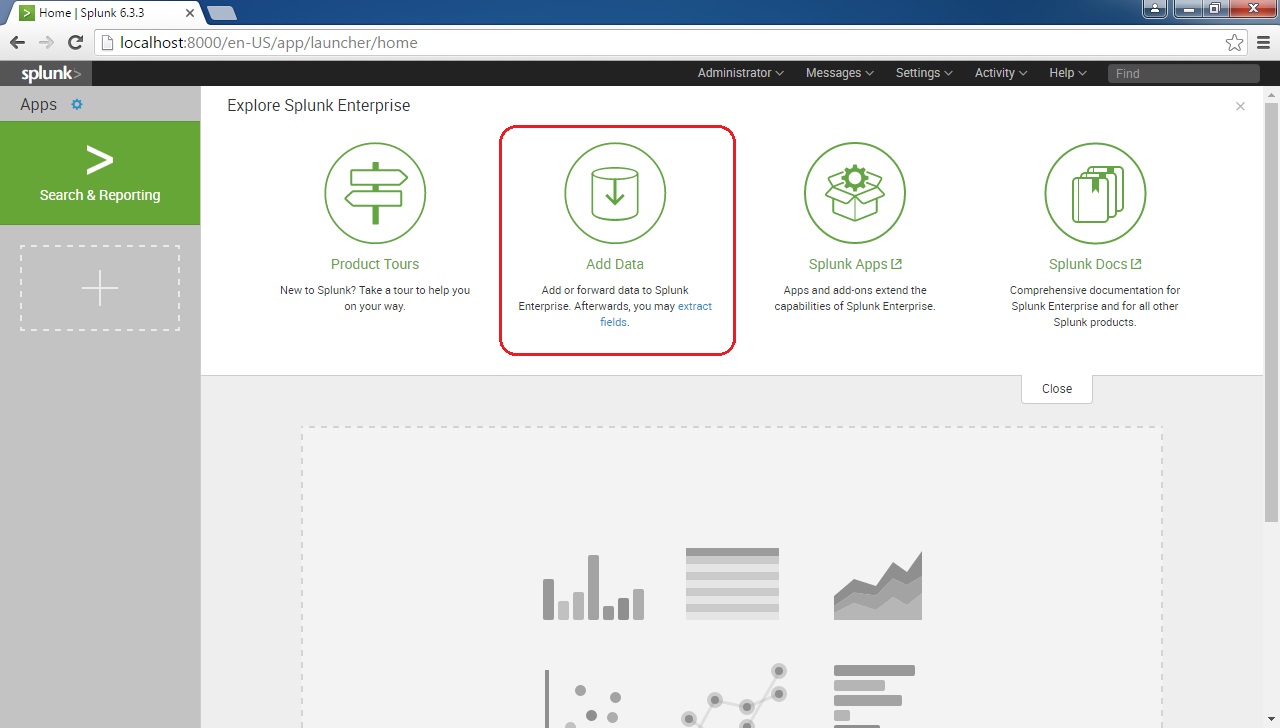
From the domicile screen, click on the Add together Data icon:
Click on the Upload icon:
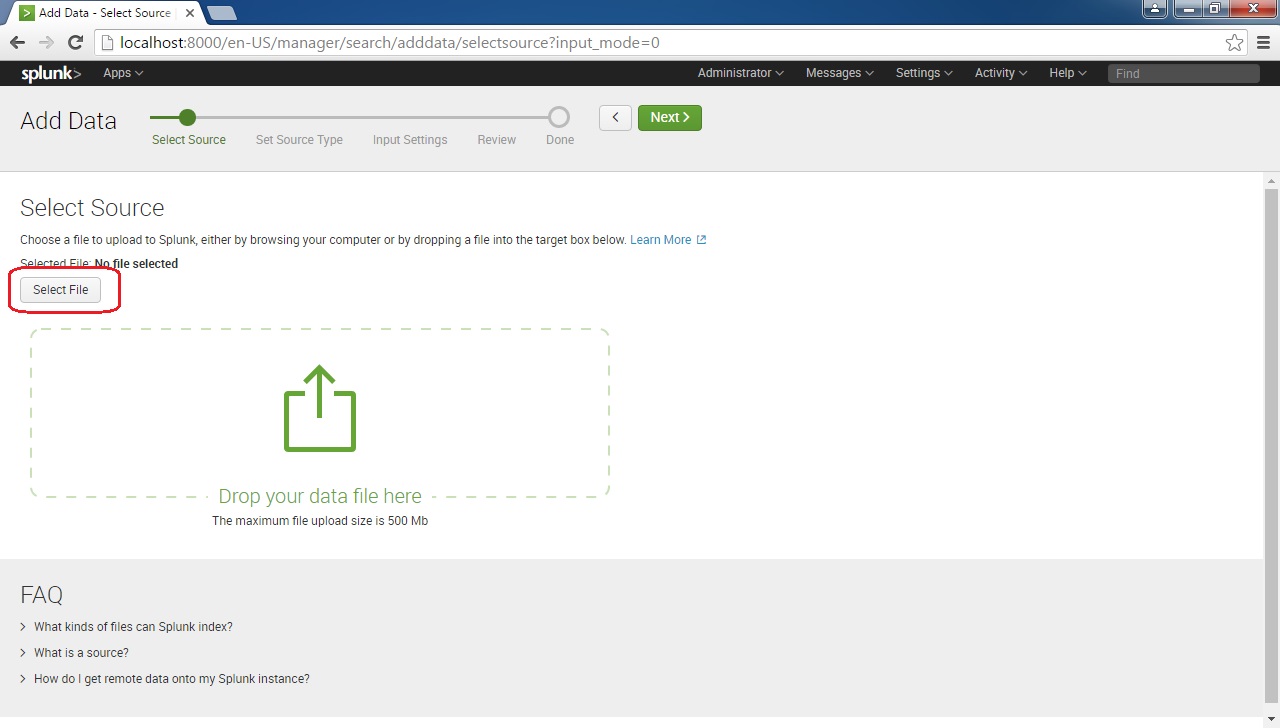
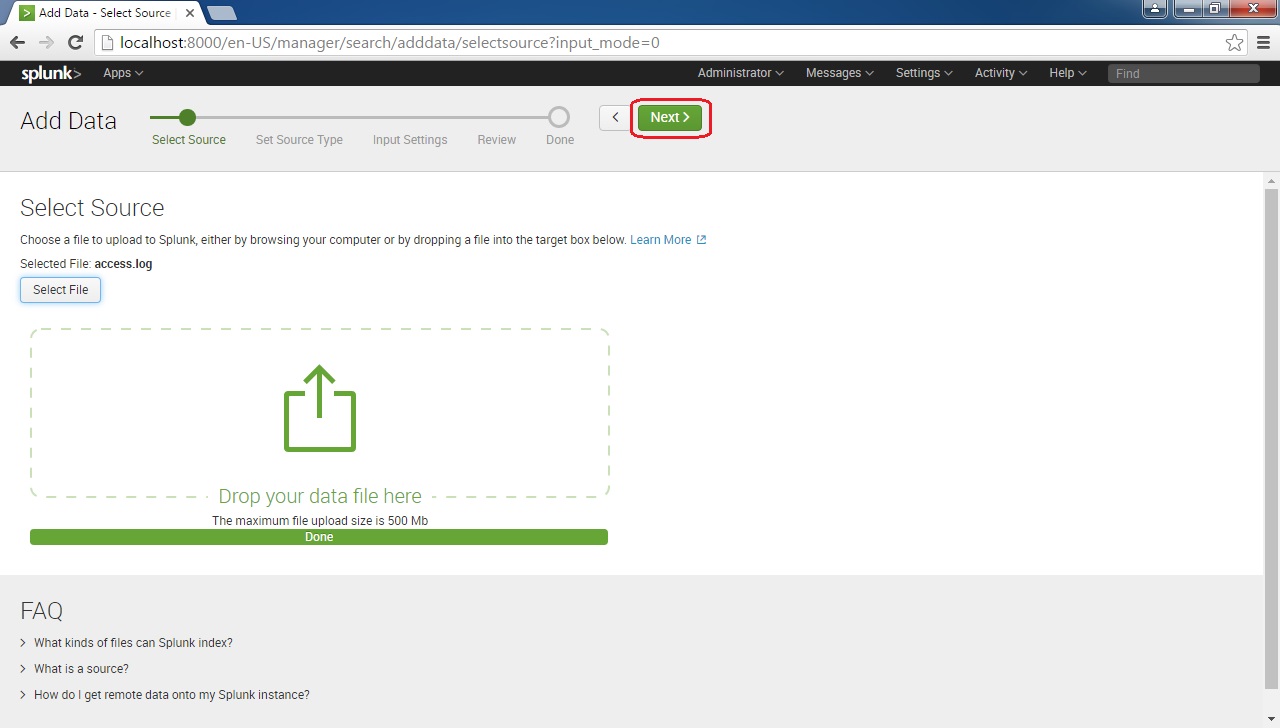
Next, you will need to select the file source. To practice this, click on the Select File button:
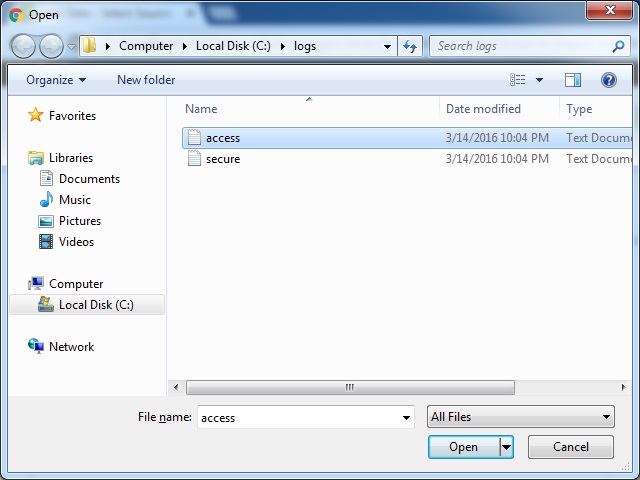
Browse to the file you lot would similar to include:
Later on the file upload finishes, click the Next button:
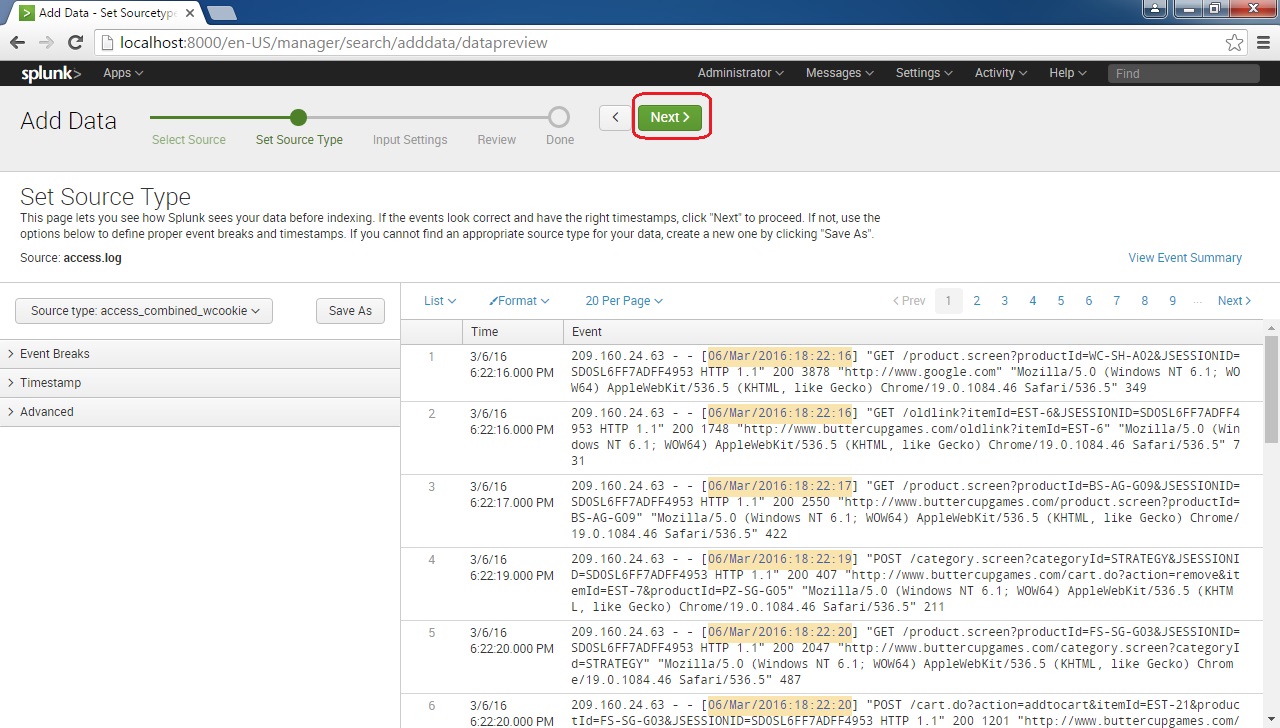
You should get the Ready Source Type folio, where yous tin can make adjustments to how Splunk indexes your data. This page allows you to preview how Splunk will alphabetize your data. One of the options you tin accommodate is the source type. This field determines how Splunk will format the data during indexing. Splunk comes with a big number of predefined source types and attempts to assign the right source type to your data based on its format.
If you are not satisfied with the default source type that was assigned by Splunk, you lot can cull other source types or employ other options (Event Breaks, Timestamp, and Advanced) to manually conform how Splunk volition format information. In our instance, Splunk has formatted the data correctly so nosotros will press Side by side:
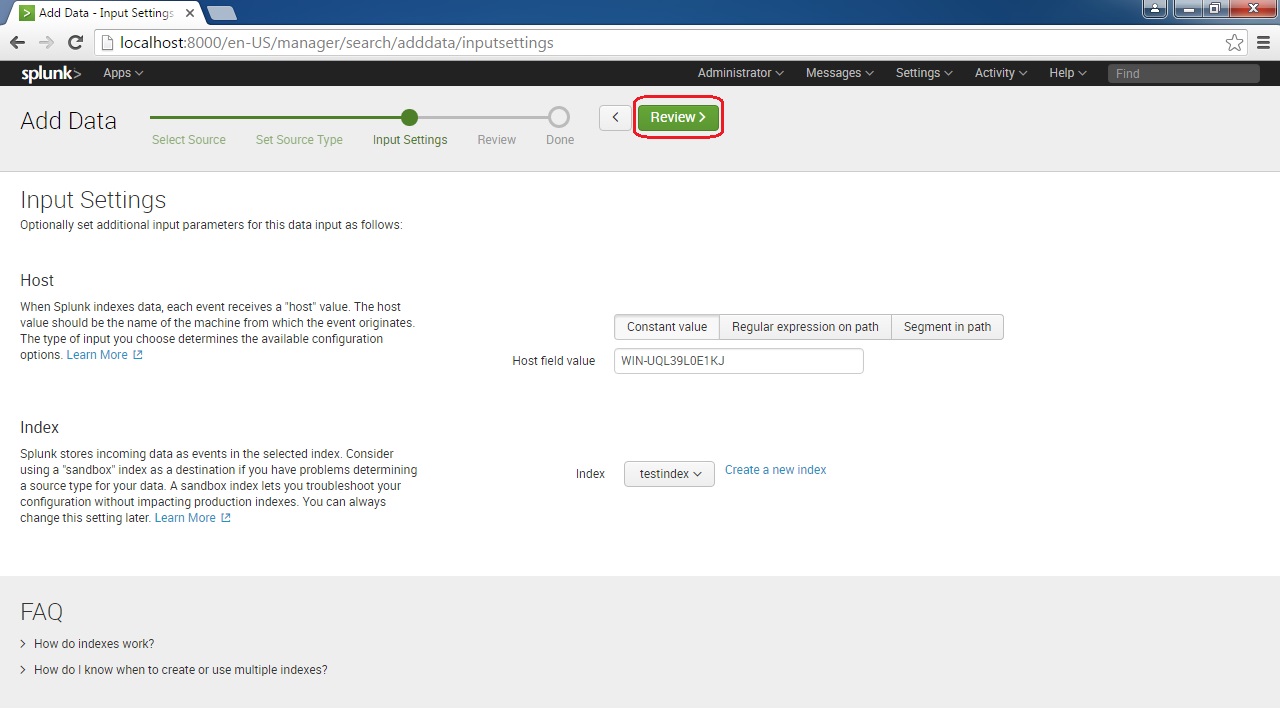
Next, we tin configure Input Settings. We tin configure the hostname (or IP accost) of the host from which the log originates. We can also cull the index in which we would like to store the events. Select your options and click the Review button:
Review the settings and click Submit to cease the process:
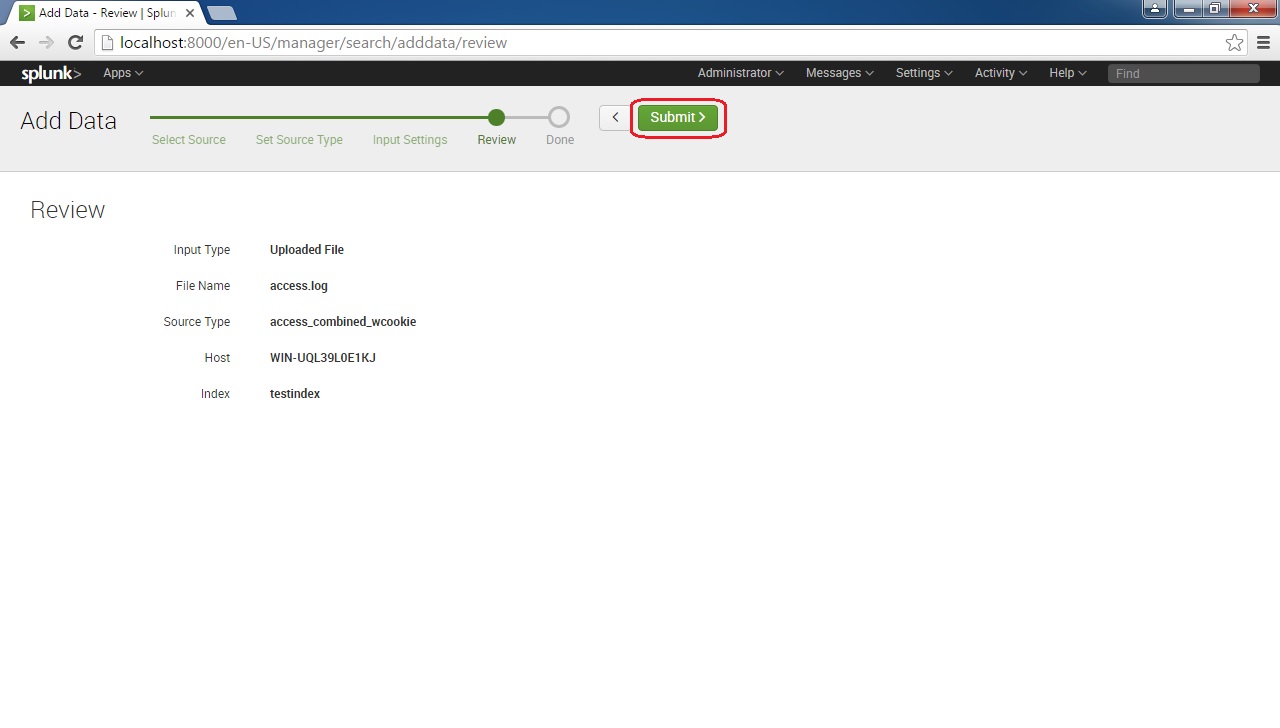
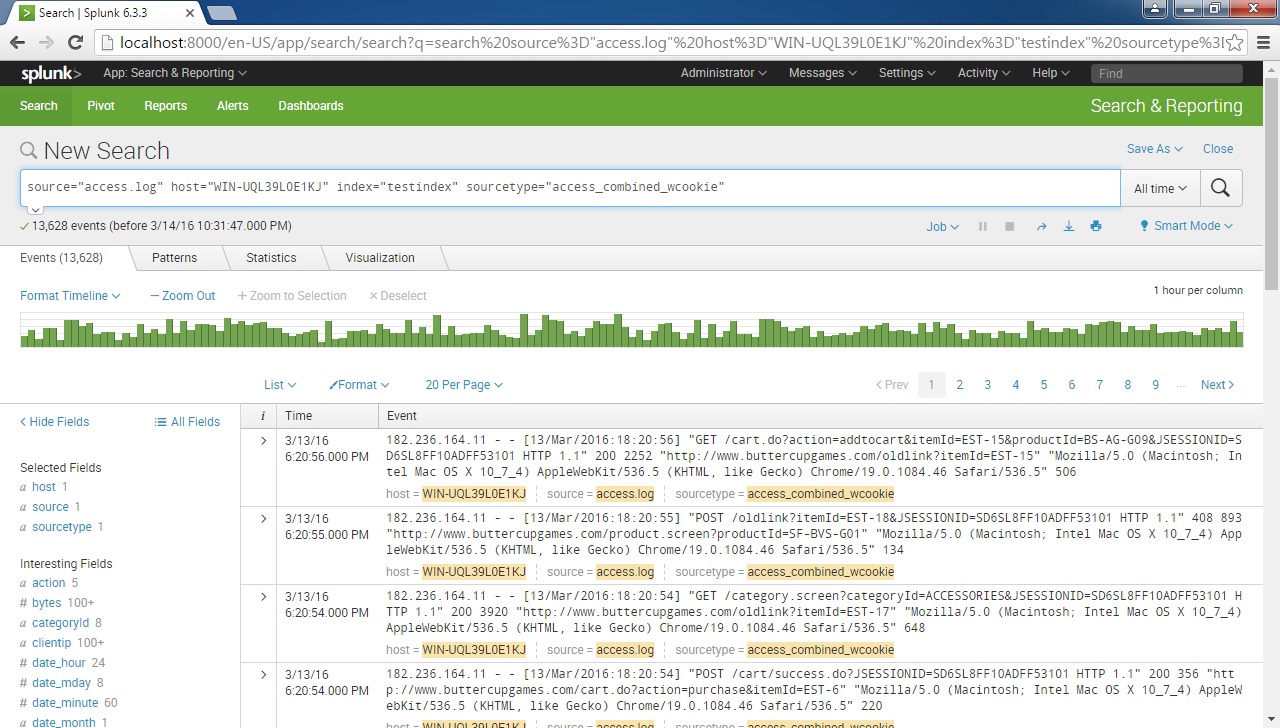
And that's it! You can verify that the data was added successfully by clicking on the First Searching button:
- Create an index
- Launch search app

Source: https://geek-university.com/splunk/add-data-to-splunk/
Posted by: boyddering74.blogspot.com
0 Response to "How To Upload File In Splunk"
Post a Comment